
It's been over a month since our last update on the Civil War Diorama and that's because the next step - framing the base - was something I was hesitant to begin. You see, I'm not all that good with woodworking. I don't do it often enough to become proficient and although I can cut plywood into straight lines and do butt joints just fine, angled miter cuts are my downfall and I dread doing them! However, it had to be done because an unframed base would have looked too incomplete. With that in mind, I bought the cheapest moulding I could find. No use wasting money on expensive oak or other exotic materials, cheap, pre-finished plastic moulding was just fine because it was going to be painted anyway.Everybody Enjoy! Fritz & Bettina Berg :)
Here, the side frames have been cut and glued to the sides using a fast setting construction adhesive. The duct tape holds them in place until the adhesive sets

It always helps to take measurements! had I done so at the beginning I would have bought two lengths of moulding because one wasn't long enough. Therein lies another reason for delay because it took me a while before I could get to the home store for another piece.

Okay, another length of moulding joins the team and it's cut and installed. I actually made a good miter the first time!! Whooppeeee! HOWEVER, the two pieces of moulding on the sides of the base dried crookedly so there will be a little sanding and perhaps some filling at the joints.


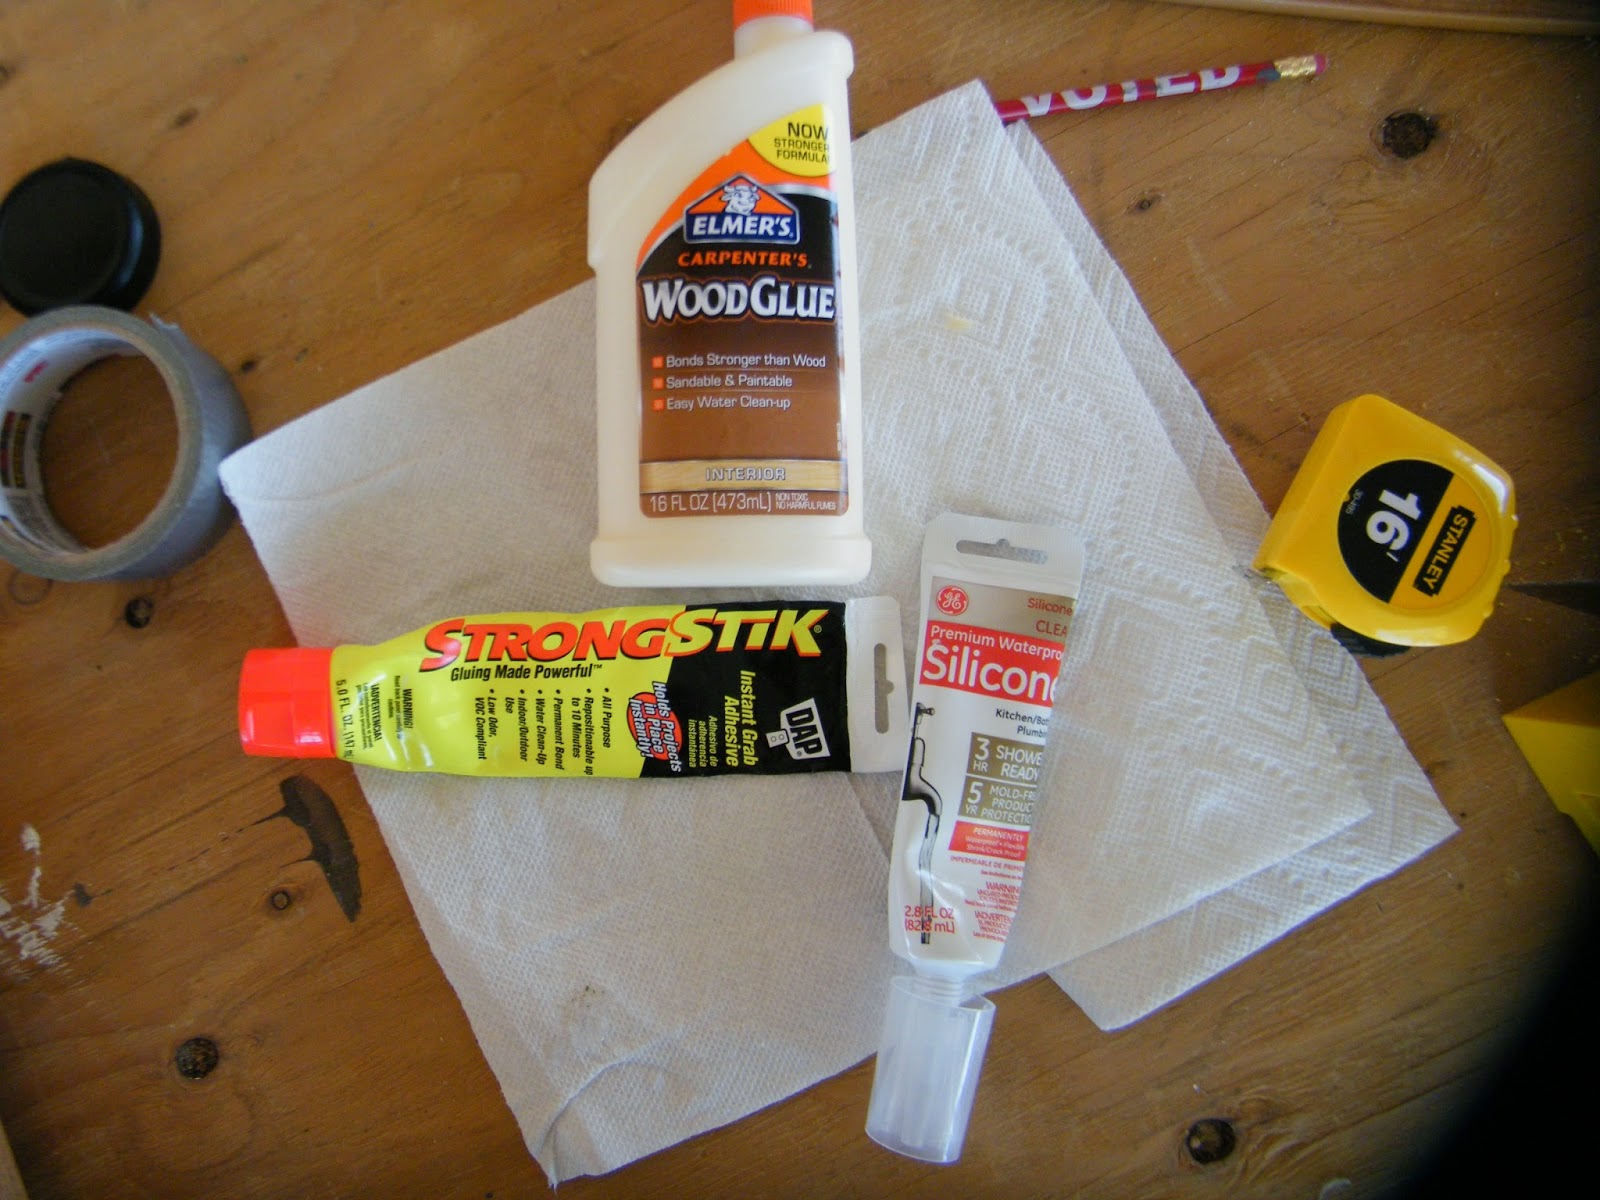
The yellow tube of StongSTIK to the left was used on the side moulding's. This stuff comes out like a real thick, gray putty but sets up in about ten minutes. The Elmer's Wood Glue was used to join the mitered ends to each other. The white tube of silicone adhesive caulking is also fairly fast setting (3 hours) and was left over from a home project. This was used on the front piece of moulding.
The edges of the Styrofoam are anything but nice and straight and even. Using a electric foam cutter would have helped greatly but I don't own one of those and had to use knives to cut the Styrofoam. That means that all gaps between the foam and moulding will have to be filled in.


There was enough of the silicone adhesive caulk left over to fill the gaps

I simply use my finger to get the caulk settled into place.

The next step will be painting the inside of the moulding and the caulk


No comments:
Post a Comment